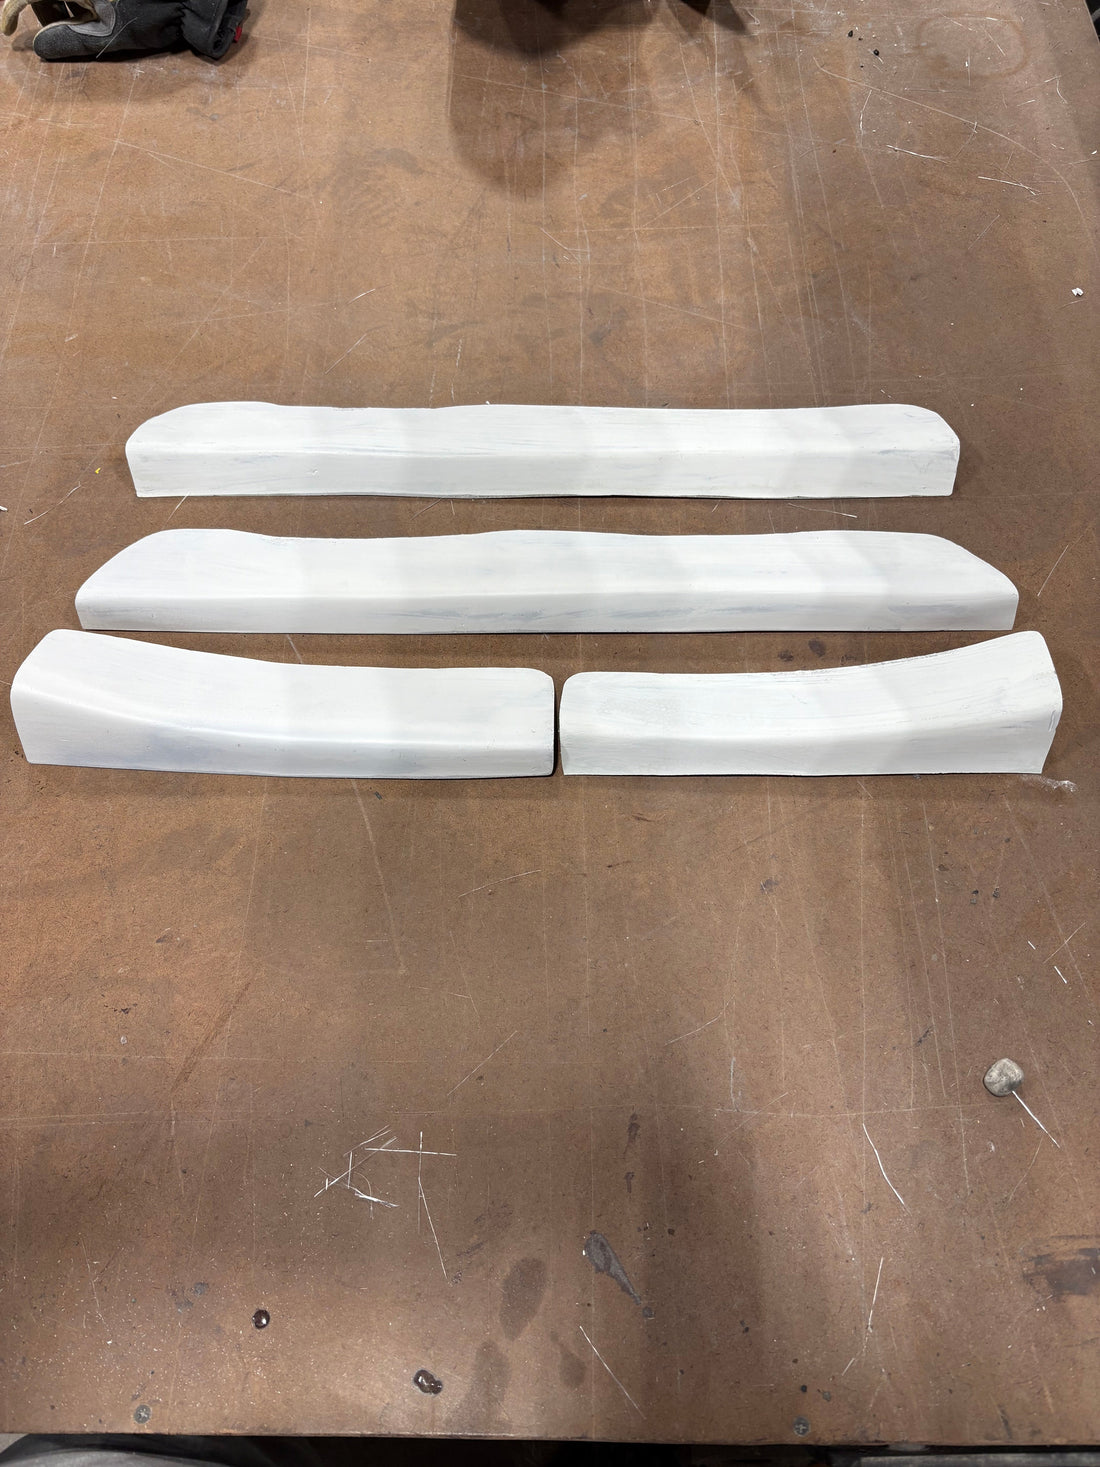
IS300 Sideskirt Mounts How To:
Step 0: To prepare the sideskirt please fit the skirt without the mounts. This will allow for a good fitment and to insure that there is the proper length mounts. To prepare the skirt to be glassed together, sand the top flange of the sideskirt with a rough grit sandpaper until it is smooth. This will help the fiberglass resin adhere to the piece for strength and quality. The mounting piece will come pre sanded, but to insure proper adhesion, it is recommended to go back over this piece too.
Step 1: Remove the door trim and place 2-3 layers of masking tape in place. This will act as a buffer for when you glass the skirt together. Since you are doing it from the bottom side.
Step 2: Place the skirt onto the car and hold it in the proper mounting placement
Step 3: Place the mount onto the car with the flange overhanging. This will allow you to mark where you need to trim the sideskirt mounts to. 

Step 4: Draw a straight line between your 2 marks and trim it down to size. 

Step 5: Mark and tape. Make sure this mount stays in the proper place. There are 3 mounting holes, it should have the same length between both sides. To tape them together hold the mount flush with the top of the skirt. You can use normal masking tape but we have found that harbor freight foil tape holds strength best.

Step 6: Remove the sideskirt with mounts taped on. Carefully remove the sideskirts mounted onto the car with tape, and find a surface to bond the two pieces together. This will need to be done in a pretty odd way. Set the piece so the top of the mounts is facing down, and the skirt is facing vertical. You want the part where the 2 join together to be at a 90° angle. This is because when on the car the mount is perfectly vertical. 
Step 7: After you have set this down, insure that the parts where they stick together does line up properly. Once you have done this you are ready to get to the fun part. The fiberglass.
If you have never done this before, please consult a professional. But if you would like to DIY, there are many YouTube tutorials to help online. You can run to your local parts store and grab a fiberglass repair kit. Small or big.
Once you have mixed up your resin and hardener, grab yourself a brush and lay down a layer of resin. You will do 2 layers of glass matt with resin soaking it all. Insure no dry spots and no air pockets. Leave it to dry.
Step 8: Once it has fully dried, trim off the excess, remove your buffer tape and test fit it onto the car. Doing only 2 layers of glass won’t be too thick so the margins won’t be too off.
Step 9: There will be 3 mounting holes for the trim piece on the front, and 2 on the back. Line those up and drill holes accordingly. Insure that they fit up right and the place the trim piece with the plastic clip going through the hole. And boom you have a fully mountable sideskirt with just the door mounts.

Step 10: Body work and Paint. For this step please consult a professional. There should be minimal body work needed.
Step 11: Mount your final product.
